

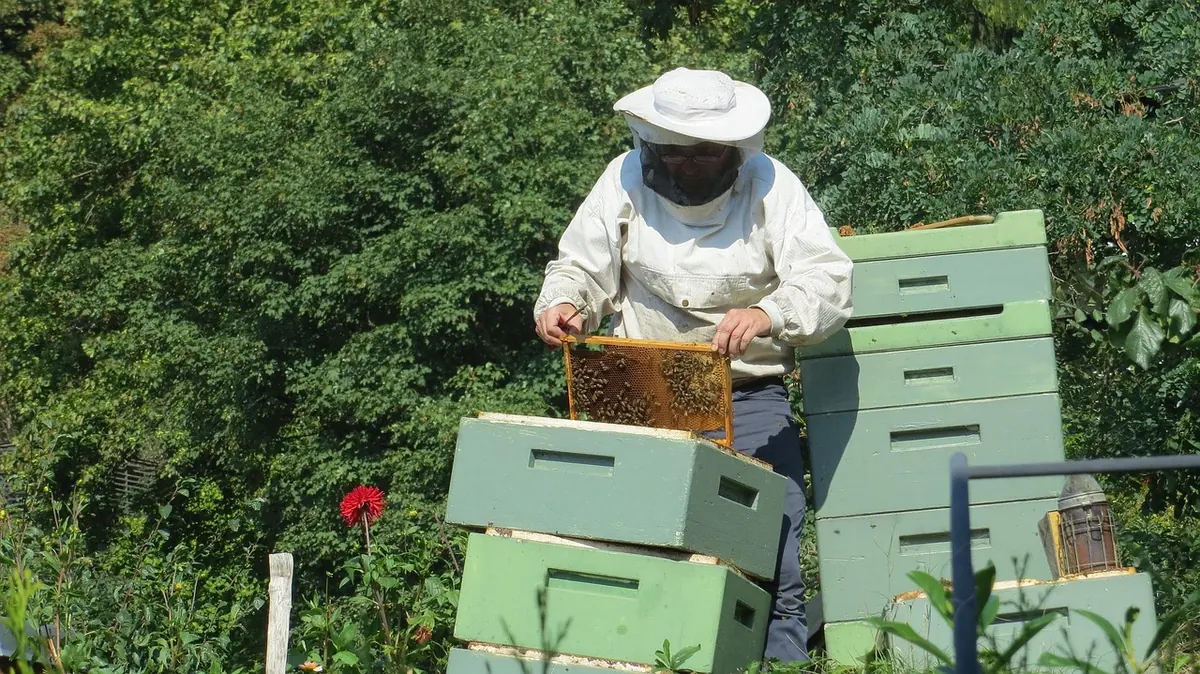
Very few people get everything right in their first season with bees, and that is part of the appeal. What separates a frustrating first year from a genuinely enjoyable one is rarely obscure bee biology. It is a handful of habits: knowing when to leave the hive alone, keeping on top of varroa, and giving a colony a site it actually wants to live in. Here are the mistakes new beekeepers make most often, and the practical fix for each.
Over-inspecting, and inspecting badly
Enthusiasm is lovely. Opening the hive every afternoon is not. Each time you lift the roof you break the propolis seals, release warmth the colony has spent energy generating, and give robbers an invitation. Linger over every frame for half an hour on a cool, breezy day and you can chill brood, annoy the queen and crush bees between frames.
Weekly checks through swarming season are the standard for a reason: that is roughly the interval that lets you catch queen cells before half your colony leaves. Outside that window, open the hive when you have a question to answer rather than a spare hour to fill.
- Decide before you start what you are checking: stores, space, queen cells, brood pattern, signs of disease.
- Work from the outer frames towards the centre, and keep the hive open for ten to fifteen minutes.
- Have a spare box or nuc beside you so you are not improvising while the hive sits open.
- Skip inspections in rain, strong wind or genuinely cold weather. In winter, heft the hive for weight instead.
Every inspection costs the colony something. Make sure you are buying something useful with it.
Leaving varroa until the colony looks unwell
Varroa is the mistake with the longest tail. Mites build up quietly through the season, and by the time you notice deformed wings, dwindling brood or a colony that simply refuses to build, the damage is largely done. Waiting for visible symptoms is not a monitoring plan.
Get into the habit of measuring rather than guessing. A sugar roll, a sticky board left in for a few days, or uncapping a patch of drone brood will all tell you something useful. If you use an alcohol wash, remember it kills the bees in the sample, so take them from a frame with plenty of workers. Test regularly through the season, and again in late summer when mite numbers tend to climb.
Treating at the right time, in the right way
Treatments vary in what they contain, what temperatures they need and whether they can be used while honey supers are on. Instructions on the label are there for a reason, and the rules on which products are permitted and who may apply them differ between countries. Check current guidance from your national beekeeping association or bee inspectorate rather than relying on what worked for someone else, and keep a written note of what you used and when.
Do not skip the boring parts either: old comb left in place for years, equipment shared between apiaries without cleaning, and weak colonies left to drift can all help mites and disease move around.
Siting the hive on a whim
A hive placed for your convenience rather than the colony's will cost you all season. Bees want morning sun to get them flying early, shelter from the prevailing wind, and a dry stand. They do not want to sit in a frost pocket, in deep shade all day, or directly beside a path where every passer-by gets a face full of flight line.
A quick site check before you commit
- Sunlight: morning sun on the entrance, with dappled afternoon shade in a hot spell.
- Wind: a hedge, fence or wall as a windbreak, without blocking the flight path.
- Drainage: well off the ground on a stand, on ground that does not flood or stay soggy.
- Access: room to work behind the hive, and a route to carry a full super without lifting it over a flowerbed. Supers are heavy.
- Neighbours and footpaths: entrances facing away from where people walk, sit or hang out washing.
- Water: a shallow, planted water source nearby, so they are not drawn to a neighbour's pond or tap.
If you keep bees in a garden, talk to the people who share the space first. A gentle colony in a good spot is a delight; the same colony facing a busy patio is a problem waiting to happen.
Starting with too much, too soon
Two colonies is plenty for a first year, and one well-managed colony is better than three neglected ones. You need spare kit ready before you need it, particularly a spare brood box or nucleus box during swarm season, but you do not need a shed full of equipment you cannot yet use. Learn what your bees do across a full season before expanding. Practical skills, a mentor and a feel for the colony's rhythm are worth more than extra hives.
Missing the swarming window
Between roughly late spring and midsummer, a strong colony can decide to swarm in the space of a week. If you only look when you happen to be passing, you will find sealed queen cells and a colony already half gone. During swarm season, check every seven to nine days and look properly: queen cups with royal jelly, eggs in cells you have just cleared, a brood pattern that has broken up, and less space for the queen to lay.
Removing a few queen cells and hoping for the best rarely works. Have a plan ready — an artificial swarm, a split, or adding space before they need it — and act as soon as you see charged cells. If you are unsure, ask an experienced beekeeper to look with you. Two pairs of eyes and hands also mean fewer crushed bees.
Keeping no records and no mentor
By August, most new beekeepers cannot remember which hive was requeened, which one was treated, or when the stores started dropping. A cheap notebook kept in the apiary solves this: date, weather, brood pattern, queen seen or eggs present, stores, temperament, and what you did. Photographs of brood frames are surprisingly useful when you are trying to work out whether something has changed.
Join your local association and go to meetings before you buy bees if you can. Nothing replaces standing next to someone who has kept bees for years, watching how they handle a frame. Beekeeping is a practical craft, and it is learned by hand, in the apiary.
Getting through the first year
Aim for a colony that goes into winter strong, healthy and well fed, rather than a maximum honey crop. Inspect weekly in swarm season, briefly and with purpose. Monitor varroa regularly and treat according to current, local guidance. Site hives where the bees thrive and your neighbours are content. Keep notes. Ask for help early rather than after something has gone wrong.
If you keep bees for the honey alone you will be disappointed some years; if you keep them to learn how a colony works, the first season will teach you more than any book. And if a colony does fail, that is not a verdict on your ability — it happens to everyone. Work out what you would do differently, clean your equipment thoroughly, and start again with better habits.
Photo: Dieter_G / Pixabay